
How to Set up a blog on Github pages
There are many benefits - personal and professional - of having a personal blog. It gives you a platform to express your creative ideas and share knowledge to a large audience. Also, through showcasing your expertise and skills, you attract the attention of potential employers, clients and even collaborators hence putting you in a pole position for new opportunities.
Here, I’ll walk you through step-by-step on how to setup a blog on github pages.
Content Breakdown
Requirements
Installation
Resources
Requirements
- Github account - Sign up for a free account at https://github.com/signup
- Visual Studio code - Download and install VScode from https://code.visualstudio.com/download
Installation
To setup a clean, customizable and responsive blog site, we will integrate Jekyll - a static site generator - with Github pages. First, let’s install Ruby which enables Jekyll to run smoothly. Download Ruby+Devkit 3.2.2-1(x64) (latest version at time of this writing) from https://rubyinstaller.org/downloads/
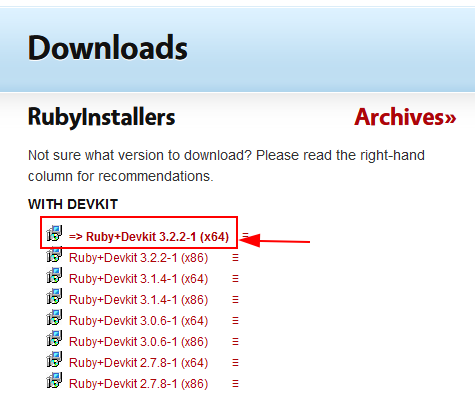 figure 1
Install using the default setting and ensure the option to “Run ‘ridk install” is checked. Click on Finish
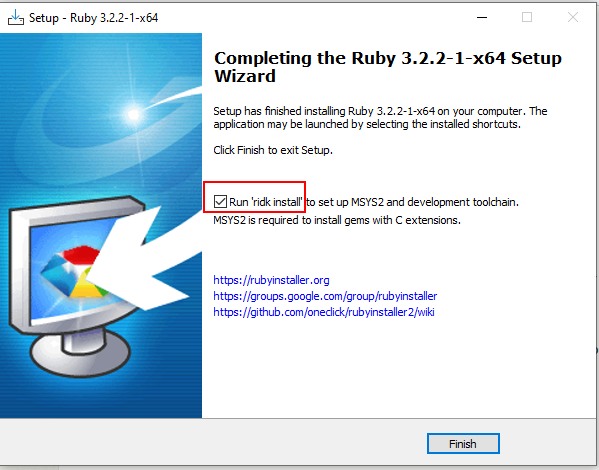 figure 2
Upon clicking finish, you will be prompted to choose what components to install. Click Enter.
 figure 3
After it completes, initiate command prompt and run the following command to install all the dependencies
1
gem install jekyll bundler
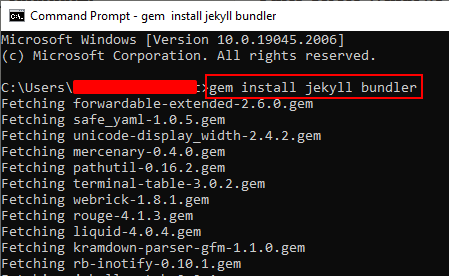 figure 4
Congratulations for reaching this far! Let’s go on…
Next, proceed to https://github.com/cotes2020/chirpy-starter. Click on ‘Use this template’ to toggle the drop-down and select Create a new repository.
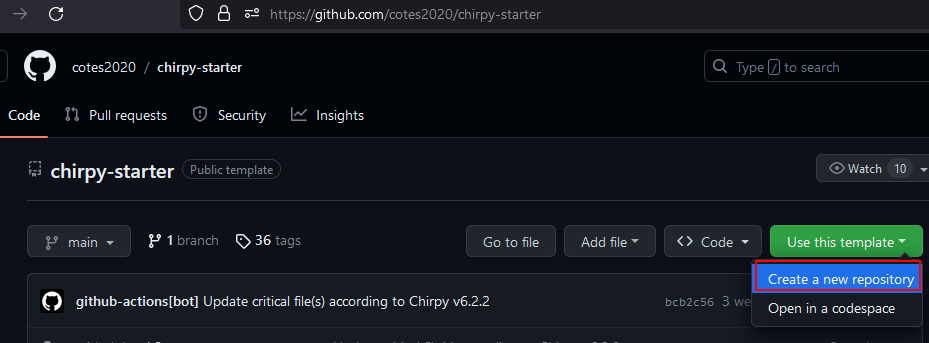 figure 5
Careful here!
Under Repository name, enter the name of your github page. Syntax: your_github_username.github.io
Select Public and finally Create repository.
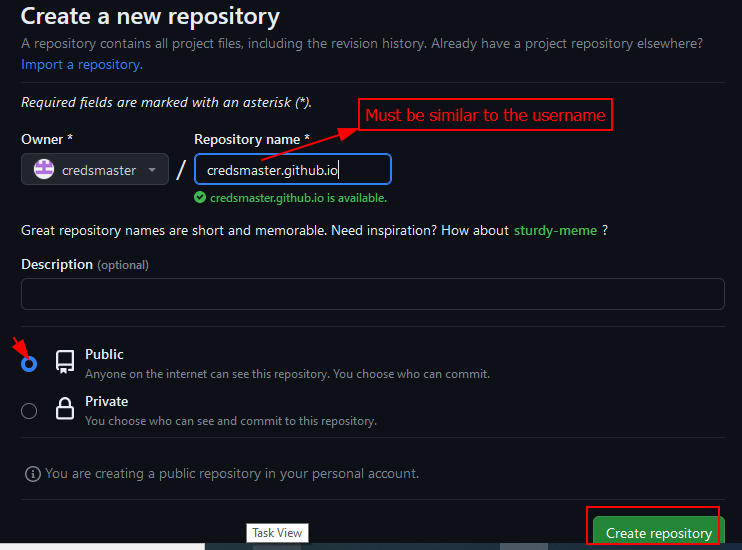 figure 6
Once done creating the repo, Click on ‘Code’ to toggle the drop-down and copy the url as hightlighted below 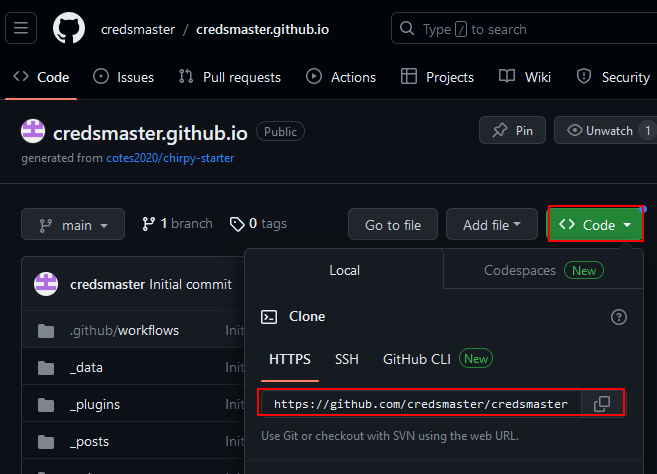 figure 7
Open Visual Studio and select ‘Clone Git Repository’ as shown below.
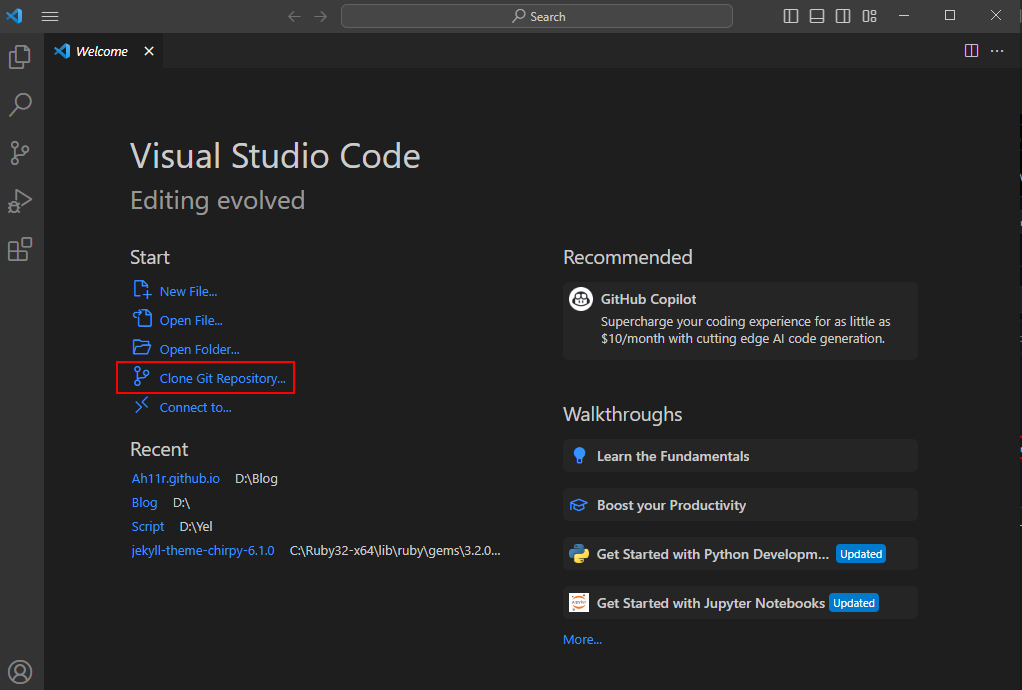 figure 8a
Paste the copied url and hit Enter.
Select your desired destination folder and ‘Select as Repository Destination’.
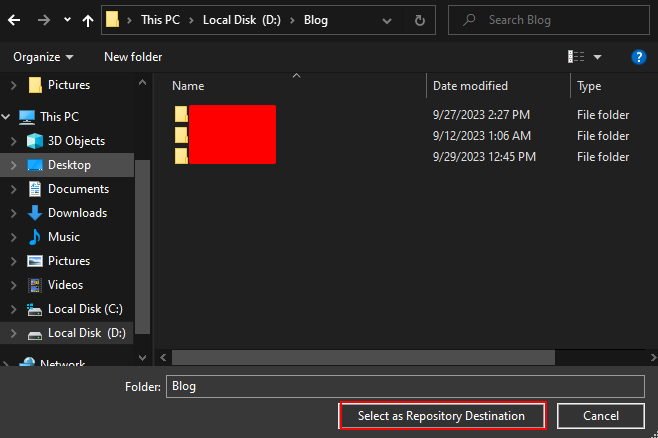 figure 8b
When prompted, open the cloned repository. It should resemble the one below.
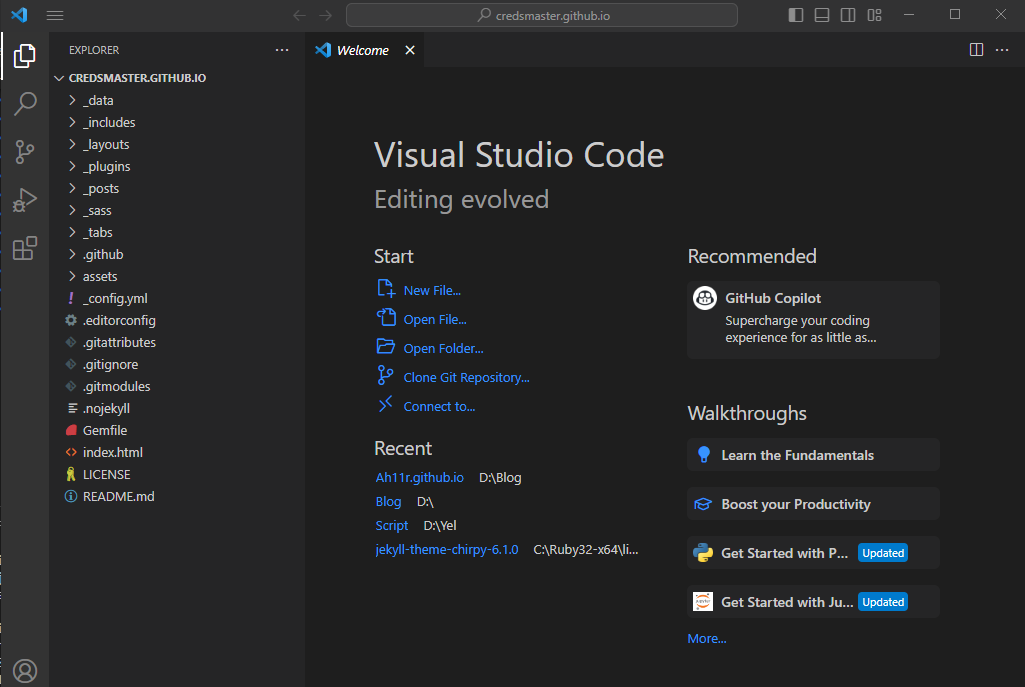 figure 8c
So far so good. Let’s continue…
Within Visual Studio, open a terminal as guided below and run the following command.
1
bundle
This will bundle up all the jekyll dependencies.
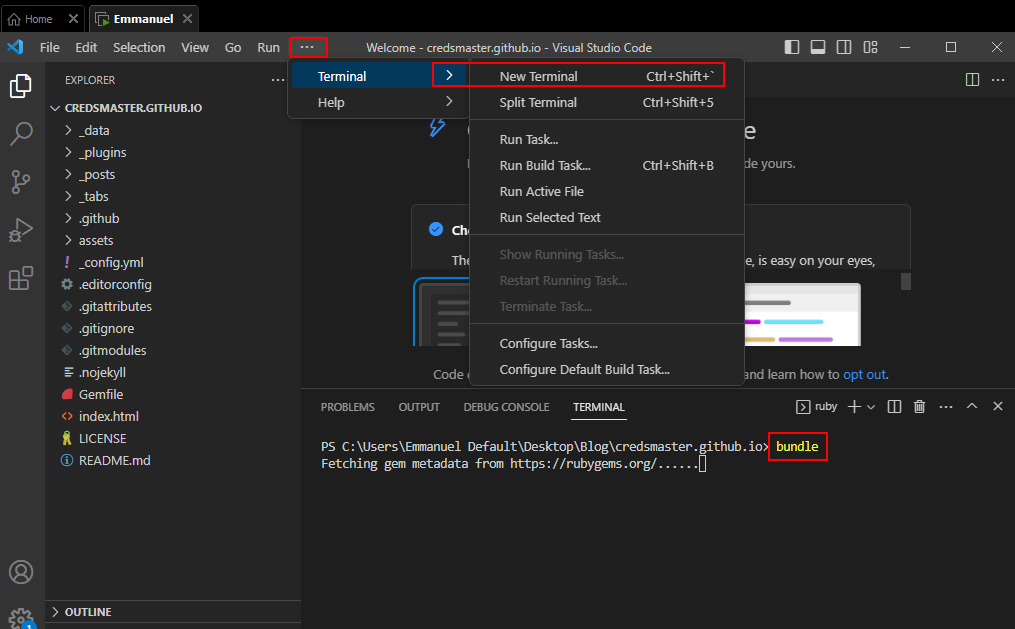 figure 9
As per theme’s documentation, we need to copy some critical files from the theme’s gem to jekyll’s site. See below 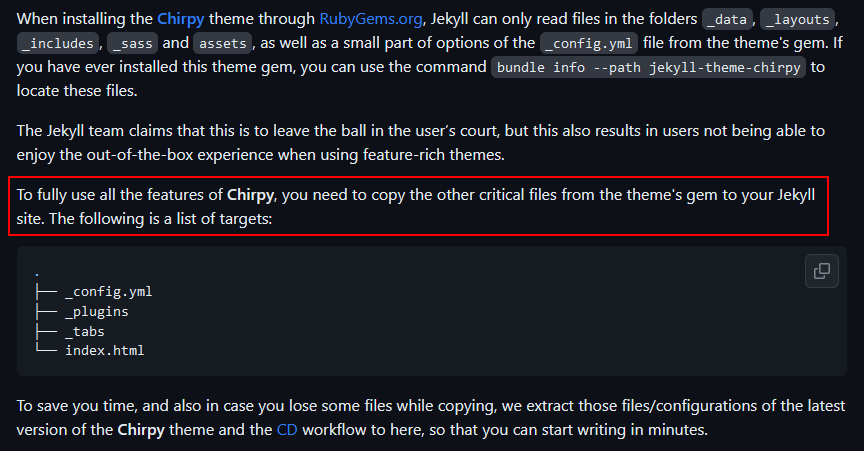 figure 10
Let us run the following command to locate these files.
1
bundle info --path jekyll-theme-chirpy
 figure 11
Follow the path i.e. C:/Ruby32-x64/lib/ruby/gems/3.2.0/gems/jekyll-theme-chirpy-6.2.2
Below, A is the jekyll site and B is the theme’s gem. So we copy _config.yml, _plugins, _tabs, index.html from B to A
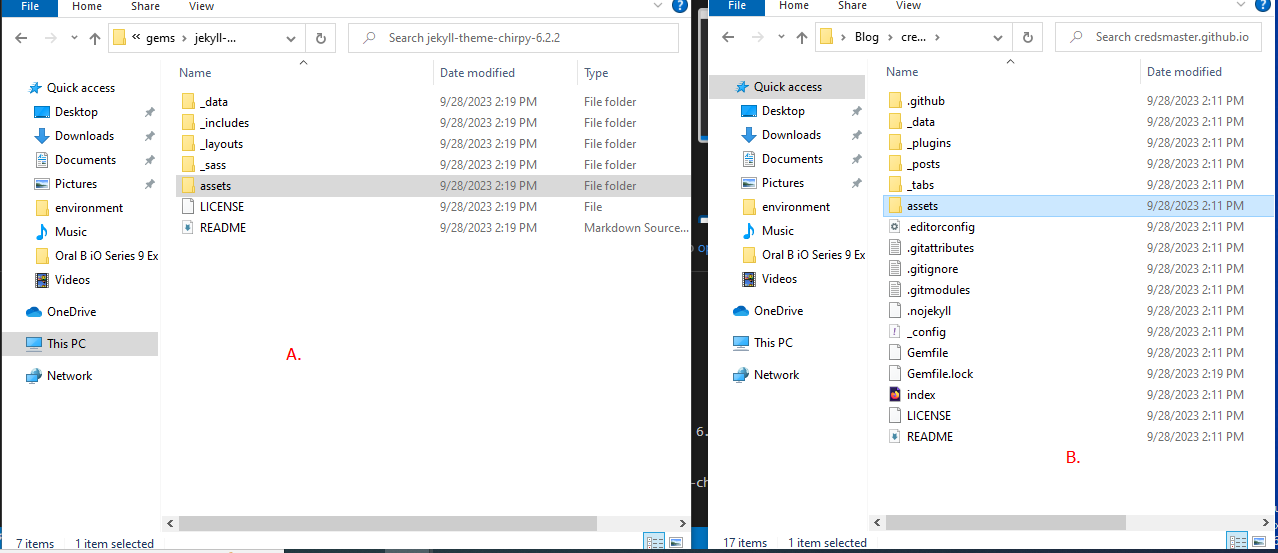 figure 12
Almost there!
Let’s go ahead and stage our changes, commit them and push them to the remote repo
Use the following commands
1
2
3
git add .
git commit -m <message>
git push
Note: The angle brackets are not part of message
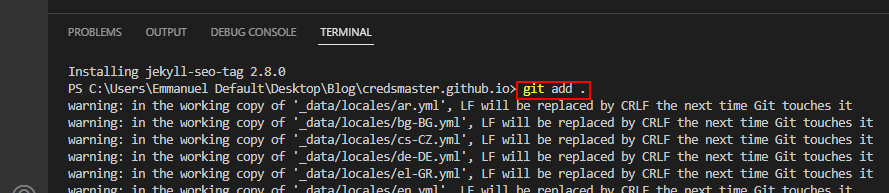 figure 13
It is likely you’ll get a request to authorize Git-ecosystem. Accept the request 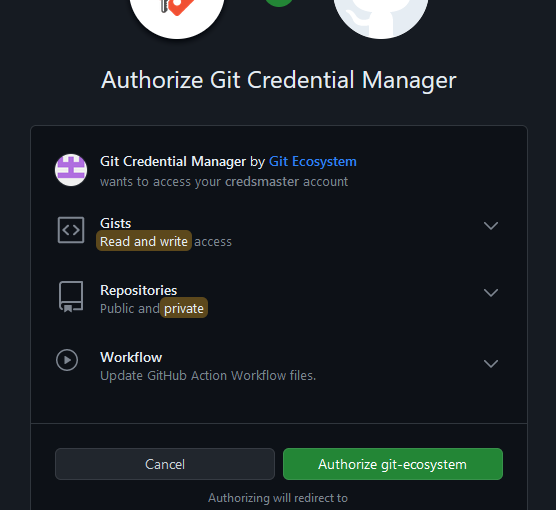 figure 14
We can see the changes in our repository by clicking on the Actions tab.
Once the process is successfully complete, click on the link beneath deploy
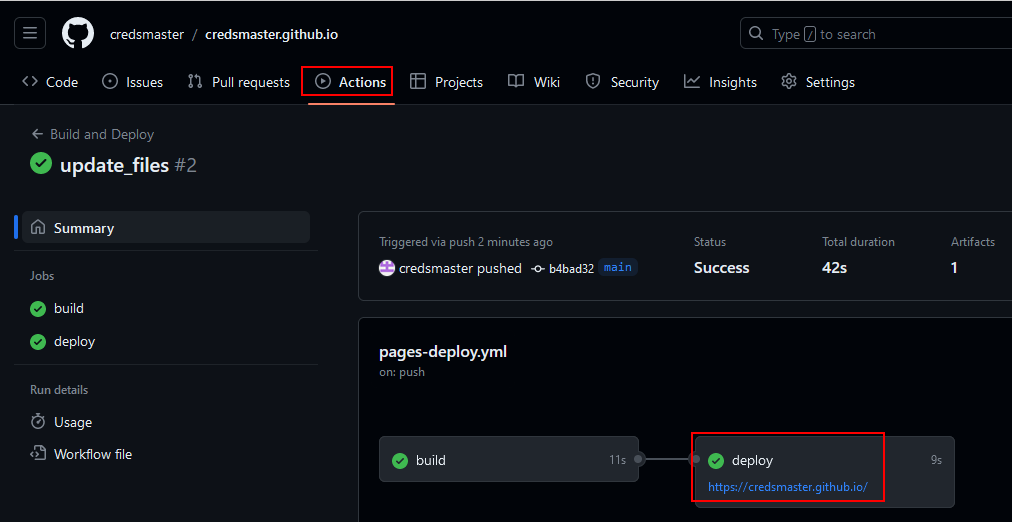 figure 15
Congratulation! Your site is up and running.
Just some customizations now.
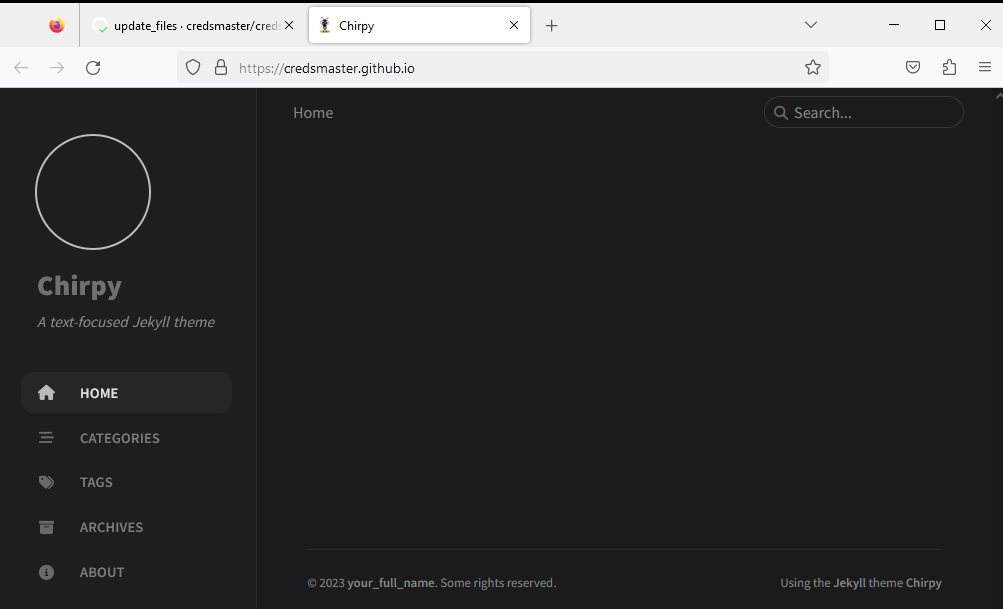 figure 16
To change the default configurations, we will edit the _config.yml file. Here you can modify the title, tag line, avatar, among other settings.
Make sure to input the your github.io link in the url field
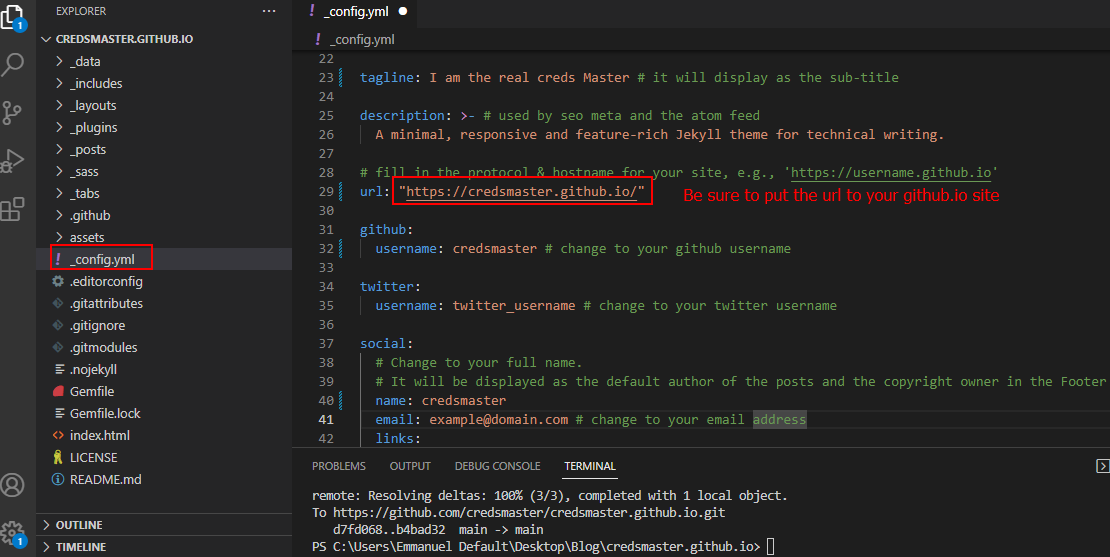 figure 17
In the next post, I will cover the following:
Creating our first post
Troubleshooting
Resources
For further readings, please refer to the below resources
- [https://jekyllrb.com/docs/installation/]
- [https://github.com/cotes2020/chirpy-starter]
- [https://github.com/cotes2020/jekyll-theme-chirpy#readme]